Hey everyone, how goes your Sunday?
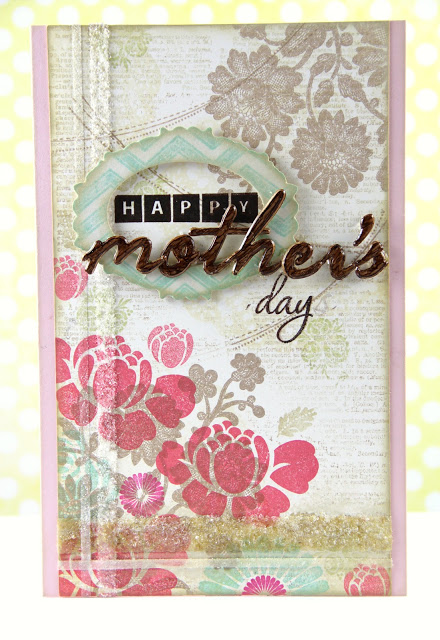
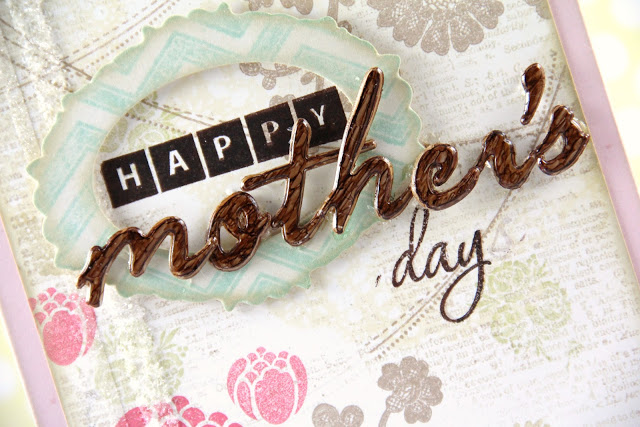
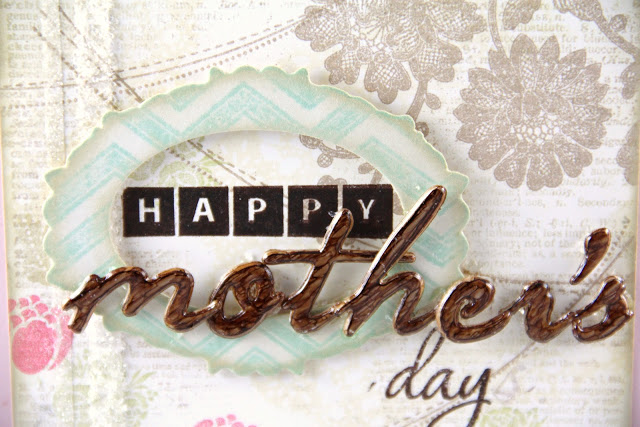
It’s Mother’s Day in the UK today so I’m popping on with a card I was asked to commission for Mother’s Day. I had free reign other than to include florals so this is what happens what I get to do that:
All hand-stamped! It took me a while!!
I started with a piece of Vintage Cream cardstock and stamped it with Pink by Design Dictionary Background (um, I *love* this set so much!) repeatedly with a mix of Palette Haystack and PTI Kraft inks. That Kraft ink, can I just say, ‘wow’?! It’s my favourite ink ever!! Well, maybe joint favourite with Berry Sorbet. ;o)
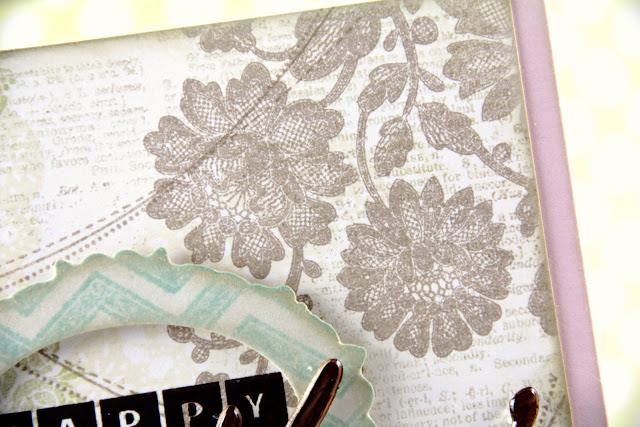
I then continued to build the pattern by stamping the Parisian Lace doily using Jenny Bowlin Malted Milk ink. How did I stamp with a die? Well, I took a hint from the amazing Amber and die cut the shape using fun foam, sprayed some repositionable adhesive on the back and turned it into a stamp! As soon as I saw Amber do that on this card I had the idea in my head to try it with this die!! I just love the results!!
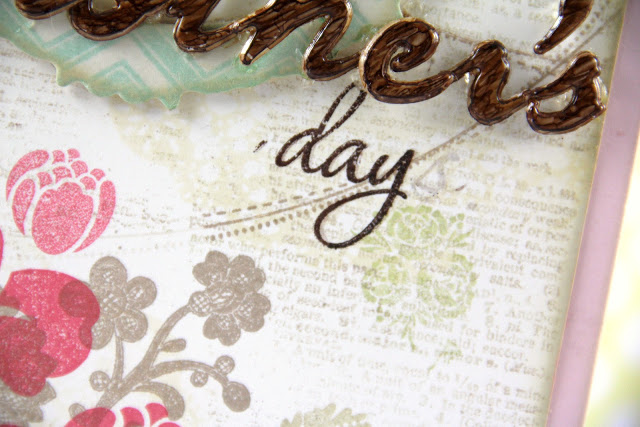
Anyway, back to that pattern building! I stamped one of my newest favourites, Lace Bouquet, using Kraft ink, then one of the small flower sprays from Simply Jane using Spring Moss ink. I added the lines from WPlus 9’s Heartfelt Mix set using Kraft ink.
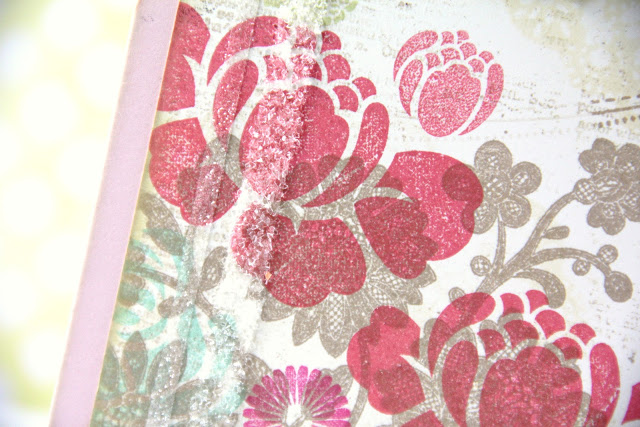
I then added my final layers of pattern building using the flowers and leaves from Rosie Posie (another firm favourite!) using Berry Sorbet, Raspberry Fizz, Aqua Mist and Kraft inks.
Phew, that’s a lot of pattern building, huh?! But I love the result of being able to recreate my own version of some of the more complex pattern papers like Webster’s Designs and so on!
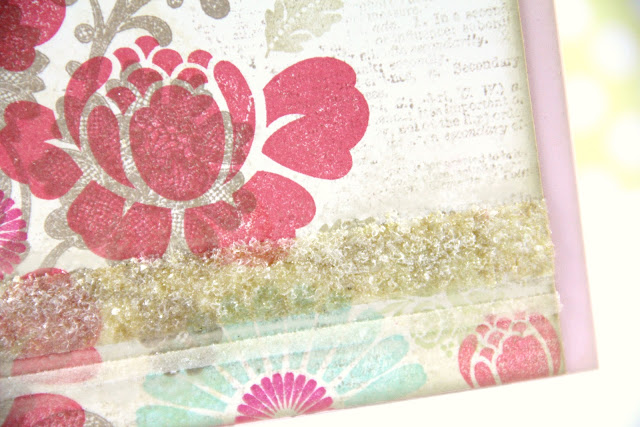
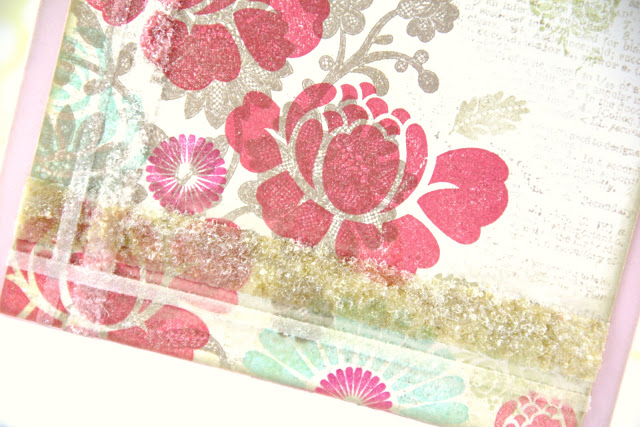
Anyway, onto some other details. I laid some strips of Scor-Tape down and added Martha Stewart Crystal Fine Glitter, and also some diamond glass glitter. The thickest strip at the bottom was coloured using the VintageTouch Chamomile ink refill.
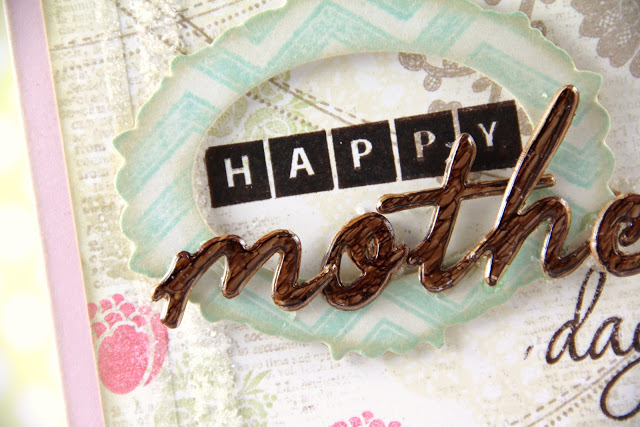
Then came the frame, die cut from coaster board using the Simply Jane die, then stamped with Background Basics: Chevron Stripes (another favourite!) using Aqua Mist ink, before inking the edges with VintageTouch Chamomile. I worked out where I wanted the frame to sit then stamped the ‘Happy’ from Birthday Bash Sentiments using a mix of Dark Chocolate and Versafine Onyx Black inks. I adhered the frame in place using Pinflair Glue Gel.
I hope you’re all having a lovely Sunday. I’m off to get some fresh inky time, but thank you so much for stopping by and leaving some love!


Wow, what a work of art – hope your customer realises they (or rather their mother) received something quite priceless!! xxx
Gorgeous card, T! I love all those layers of stamping! I thought it was the florals over a patterned paper! I completely agree about that Kraft ink! Favorite!
Lovely card, T. Love all the layering – bet that took a bit of time. It would have for me!
love how you walked us through your stamp-layering process – it's like a behind the scenes sneak 😉 It's really beautiful – a work of art!
Lovely job on the layered stamping … I so wanted that frame and die but that's all I want from the set so don't think that will be happening anytime soon! 🙂
What a pretty card. I like how you have combined those different sets.
What expertly built pattern paper. So so prettty and ultra creative.
Wooooowww…… T, this is SO beautiful and I really enjoyed reading your step-by-step of how you built those layers. I love that kind of stamping, but rarely do it. I think you've inspired me to try it the next time I stamp! 🙂
Oh no, "card"
Miss T, very lovely care. I love your stamping over stamping. It's so natural looking. I can't get mine to look right – mine end up awkward looking so I quit trying. You choose the right stamps and the right colors.
Phew! What a work of art! Totally worth all the effort of course! I can't believe how much attention to detail your stamped panel has – fabby!
Hugs,
Aimes
x
Taheerah, the layering of so many stamps and colours is just amazing!! When I first looked, I thought you had stamped over some patterned paper. Thanks for the step by step technique. So many lovely details.
I just received my Kraft ink and I love it too!! It hasn't left my desk!!