Hey everyone! How are you all?!
First of all, welcome! If you have found your way over here from Amber’s blog then I am so glad to see you! Thank you for stopping by!
I’m so totally honoured to be featuring on Amber’s Damask Love blog today as a Substitute Teacher! That means so much to me!! Thank you Amber for having me!! If you haven’t checked out Amber’s blog yet/recently then get over there now! You won’t ever want to leave!!
Today I’m bringing you a little CAS card that features an awesome technique! But first of all, before I delve into details, how about a look at what we’re talking about, shall we?

How’s about that for awesome?! YEAH!!! I have to confess that when I finished this little card I literally bounced for joy whilst clapping my hands and squealing!!
This card features the phonebox image from the ‘You Say Goodbye and I Say ‘Ello’ stamp set by Becky Oehlers. Hi Becky! You’re awesome!! The stamp itself is a solid image though, so how did I create that Union Jack design… ?
…
…
Any ideas?
… it’s an oldie but goodie – the Kissing Technique! But in this case it’s a Double Smooch Technique, as I’m affectionately naming it, lol!
This technique is super-easy to do, but just to help you along I’ve created a simple step-by-step photo tutorial for you to follow!

(Clockwise from left):
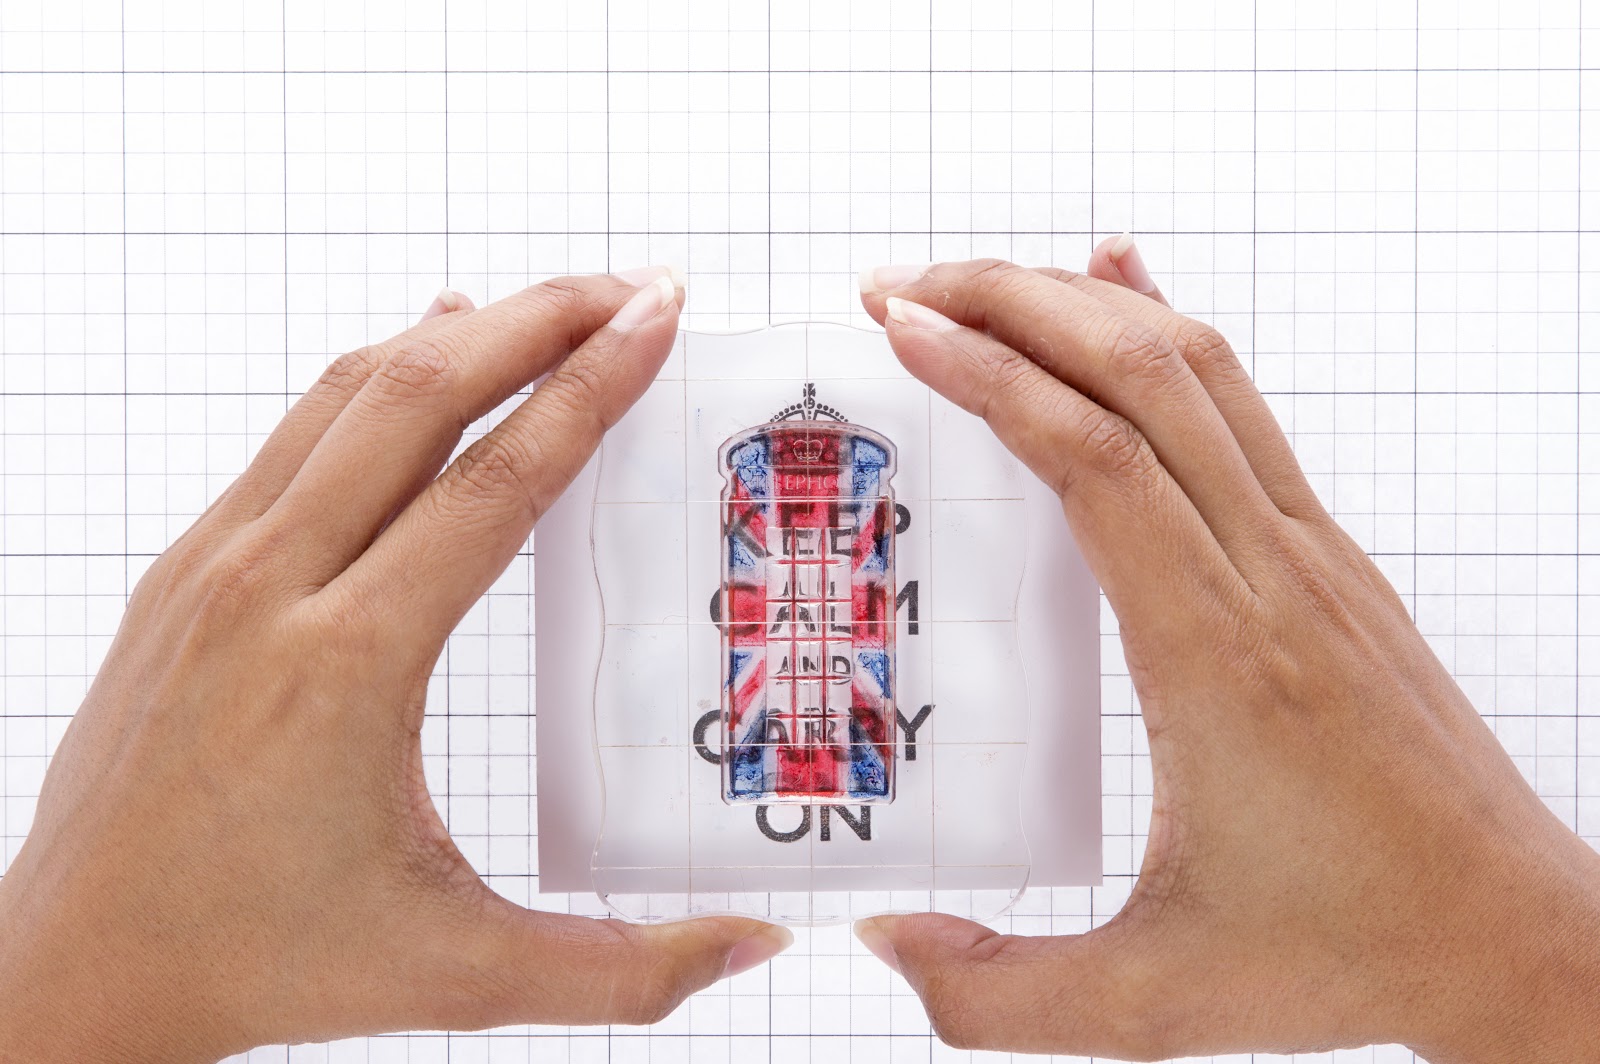
1) Stamps for the sentiment and telephone box, acrylic blocks (gridded work best for placement)
2) Two-step Union Jack flag stamps
3) Ink
4) White card base (this one is 3.5″ square)
(optional) gridded scratch paper to practice on and to help with alignment
What You Do:

2) & 3) Ink up the inner part of the flag with red ink. Stamp the telephone box onto the flag stamp to transfer the ink. This is the basic kissing technique.
4) & 5) Ink up the outer part of the flag with blue ink. Align the telephone box stamp and stamp onto the flag stamp to transfer the ink. You will now have both colours and images transferred onto the telephone box stamp.
6) Stamp the telephone box onto the card base. You may want to ‘huff’ (breathe) on the stamp beforehand to help the ink transfer.
And that’s all there is to it!!
Supplies:

A:Muse Keep Calm stamp set (flag)
SU! Carry On stamp set (sentiment)
You Say Goodbye and I Say ‘Ello stamp set (telephone box) – Becky Oehlers Stamps through GinaK
Stamper’s Select White Cardstock (Papertrey Ink)
Pure Poppy, Enchanted Evening inks (Papertrey Ink), Versafine Onyx Black ink (Tsukineko)
I want to extend a *huge* thank you to Amber for featuring me on her blog, and a big thank you to all of you who have stopped by here today! Take care and hope to see you again soon!
Awesome use of that technique, T! CAS and patriotic too – love it!
Hugs!
x
Love it! Love it! Love it!
Very few cards have ever had me searching for the stampes they used and this is one of them! I can't tell you how much I love this card… now to decide on those stamps! Thanks for the inspiration!
Saw your tutorial on Damask Love and just had to let you know how much I love your card. Awesome.
Well done Taheerah. Brilliant tutorial. Delighted you are featured on Amber's Blog.
Great card, CAS and perfect technique. Loving all the step by step photos too!
Congratulations on an awesome tutorial!
So cool Taheerah! I'm a big fan of all things UK-related, so you know I love it!!! Love the way you used Becky's stamp:) Well done!
Hi T! Love this! What a great idea to make the phone box look like the Union Jack. Thats awesome!
Congratulations on being a substitute teacher, T.! Your card is fabulous! Thanks for the tutorial on how you made it!
So very cool, Taheerah! 🙂 Love the finished project! 🙂 Well done, teach! 😉
I love it, T! And I LOVE your new blog design! Fabulous!! What a great way to start the year! -Amy
Hello Taheerah, Love the card. So great. I love this technique. What an honor to guest on the fabulous Amber's blog. The two of you are great! So glad to have met you at the PTI stamp affair with Lexi and Dawn. Hope all is well on your end and happy healthy 2013!! Love your work.
Love this! What a fun technique and wonderful card!
Very cool technique, Taheerah! I love how you've put all these components together! Awesome job!