Hey everyone! Happy Thursday!
I’m up on the Newton’s Nook blog today with an awesome tag. I was going to create something featuring Winston but as usual I just can’t resist Newton so opted for Newton’s Birthday Bash instead!
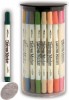
I know some people can sometimes feel a little intimidated by colouring in stamped images, particularly when it comes to Copic Markers. Time can also be a factor which deters from a colouring session. But that doesn’t mean your stamped images need go naked!
Enter: paper piecing!
With a carefully selected palette of papers and colours you can create a fantastic finished look without having to reach for a single colouring medium. And you can get some really cool dimension and the look of textures or patterns too which would otherwise elude the colourist!
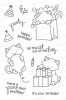
Here’s what I came up with:

*squeals* I *love* how this turned out!!
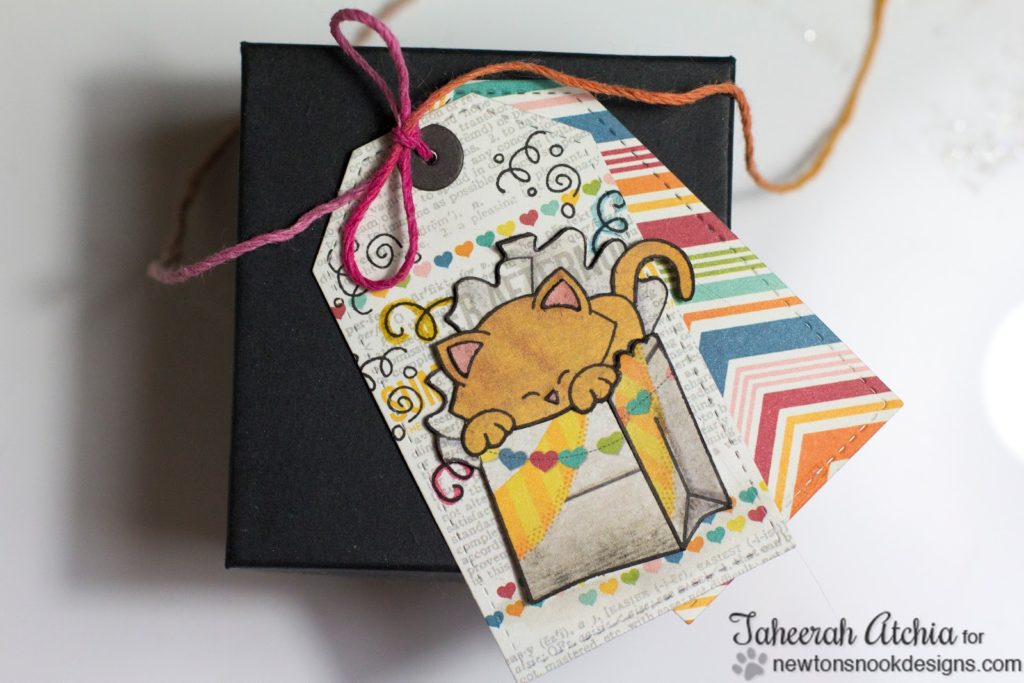
I started by selecting my patterned papers. I love using a 6×6 paper pad for paper piecing as all the colours and patterns are guaranteed to coordinate as the manufacturer has already done all that hard work for you! Here I opted for the Simple Stories I {Heart} Summer collection as it is packed full of bright, fun patterns and colours!
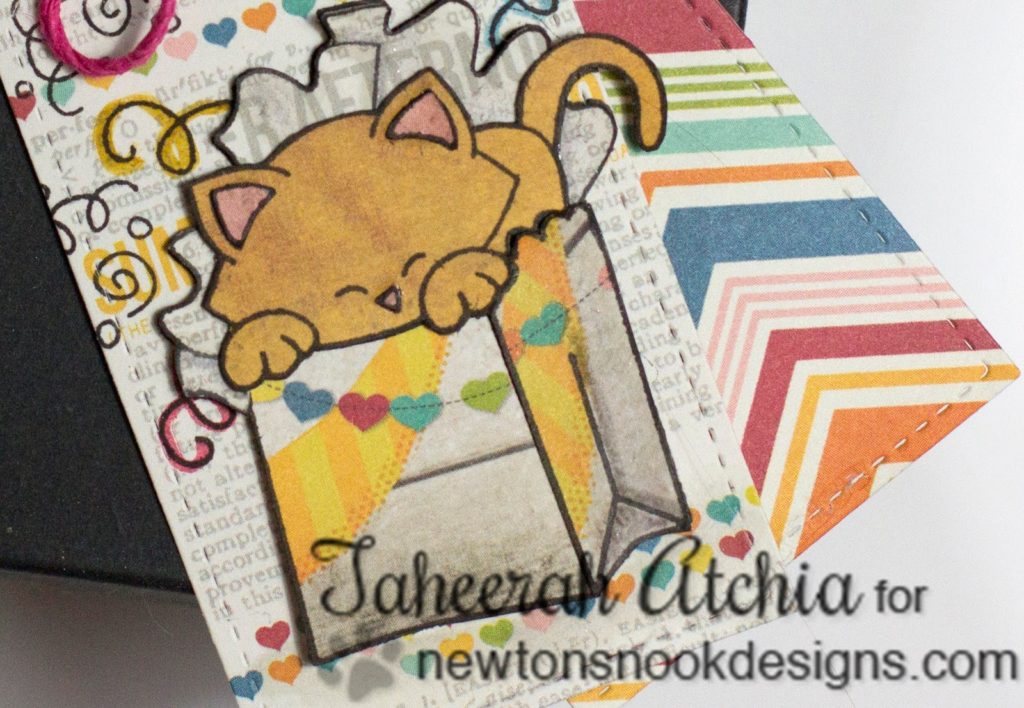
Next I chose which portions of the image to paper piece with which paper. I used one pattern for the bag and stamped the main bag shape and the side image a second time and pieced the two together. Next the ‘wrapping paper/newspaper’ that Newton is nestled in, then Newton himself. I loved stamping him on an orange woodgrain-like pattern as it gave him some markings! No detail went begging – even his ears and nose are pieced from a different paper!
I stamped all my images with Versafine Onyx Black ink and trimmed them out carefully before going round all the edges with a Distress Marker in Black Soot to give a finished look. I also watercoloured a little Distress Marker in Pumice Stone in places to add a little shading.
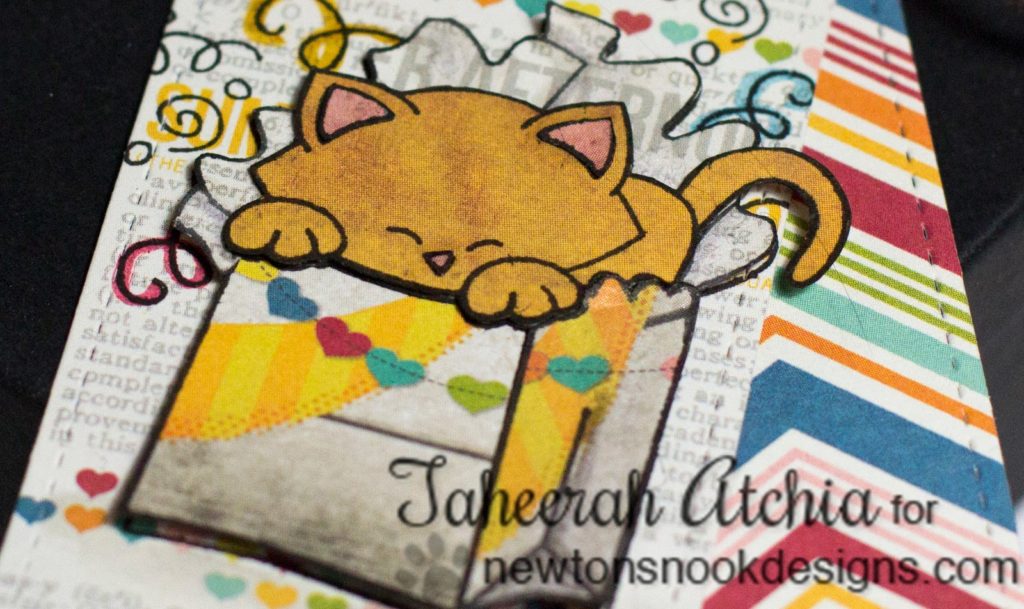
I used Glossy Accents to piece all my patterns in the main, but I did use some Pinflair Glue Gel for Newton to give him some dimension popping out of the bag!

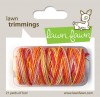
With my paper pieced image complete, I decided to use some more papers from the collection to create a double tag, die cutting them using the Embellished Tag die. On the main tag I stamped the complete image again, thus adding all the streamers that were missing, and also stamped the confetti from the same set. I went over some of the streamers with other Distress Markers to add some colour. The second tag was die cut from a different paper. I punched a hole in both and secured the tags together with some fun Pink Lemonade cord and that was me all done!
Please do leave a comment on the Newton’s Nook blog – and while you’re there take a look at the latest Inky Paws Challenge too!
Thanks so much for stopping by! I would love it if you left some love before you went on your way!
Supplies:


Colorfully sweet!!
Adorable! TFS
there is a ton of work on this little tag…I am impressed you saw it through and afterwards I personally would never give it away! ha!
Wow, amazing paper piecing work!, You really thought of every little detail.. 🙂 Lovely, thank you!
Fabulous!!! This tag is so intricate!!
So super sweet Taheerah, love the paper piecing!
This is taking paper-piecing to a new level. Amazing work.
Oh, this is so super sweet! Fabulous paper-piecing, T.!
So sweet! I love the piecing and the papers you chose!
Oh wow, wow and wow! What a fabulous tag set you've created featuring the oh-so-adorable and perfectly paper-pieced Newton! A charming, beautiful way to snazzy up a gift. Love this!
c
Wow!!! You are a paper piecing genius!! I looooooooooove all the patterns you chose! Incredible!! Seriously this tag is amazing!
Way cute!
Oh my goodness this is adorable. I'm not a big colorer but give me PP and I'll paper-piece the whole day away. This is great inspiration!
Very cute tag!