Hey everyone! Welcome back to Day 9!
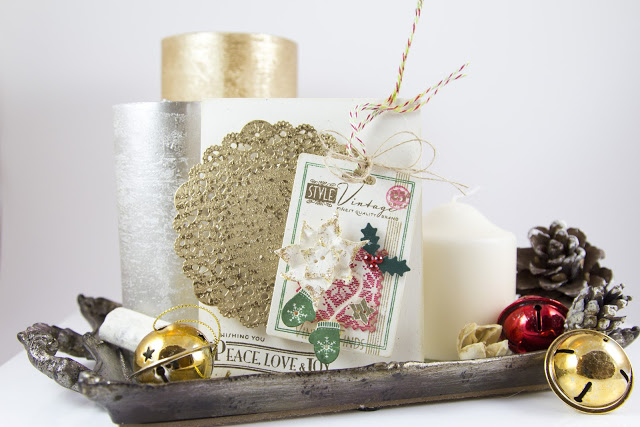
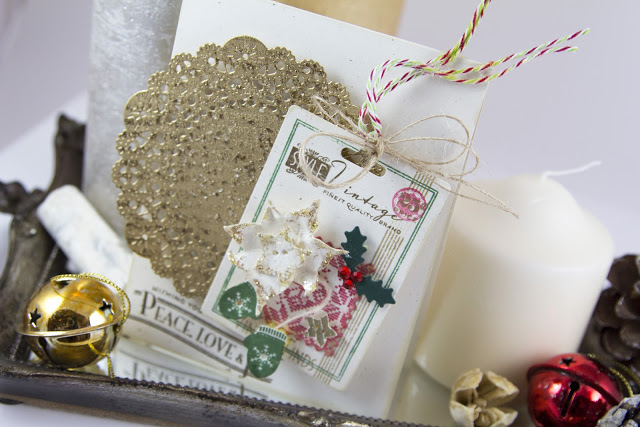
Today’s card takes on a vintage feel. Let’s take a look!
What do you think? Quite a labour of love this one!
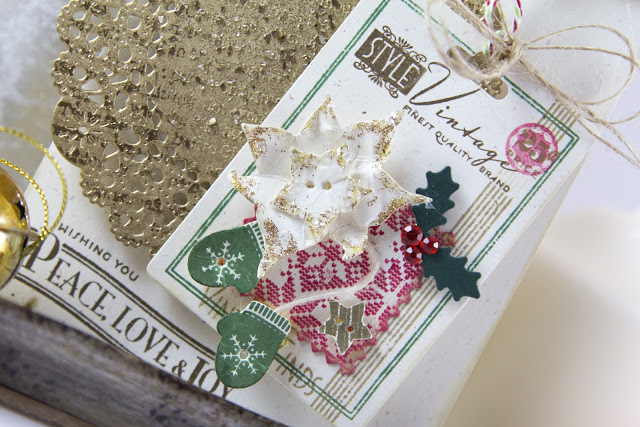
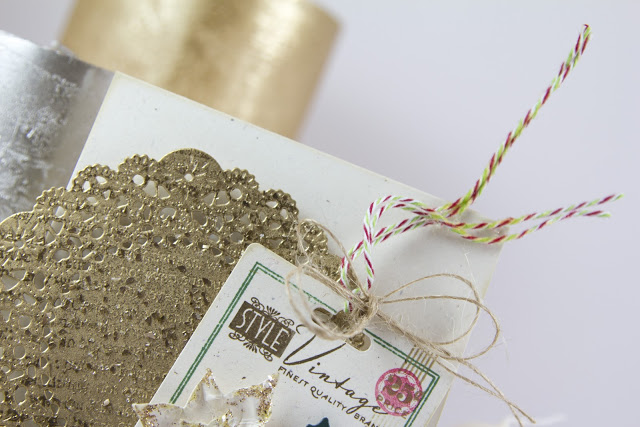
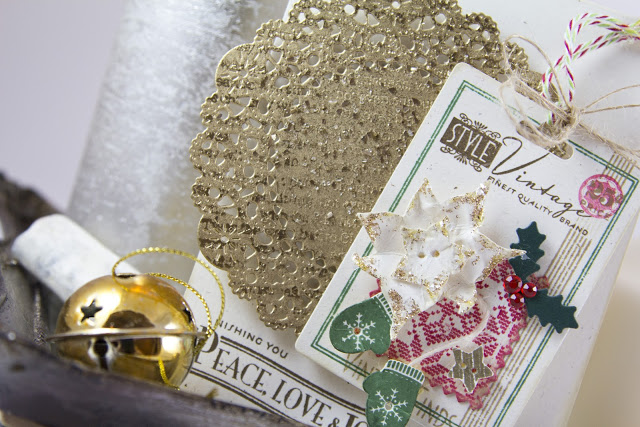
I started by die-cutting the Button Card from Rustic White cardstock using the Button Card die. Next I used the Button Boutique stamp set to add the border using SU! Garden Green ink, the stripes and top and bottom sentiments using CTMH Desert Sand ink (I think – I made it a while ago!) and added the little circle (this is also fro Button Boutique – it’s one of the buttons!) over the price using Pure Poppy ink.
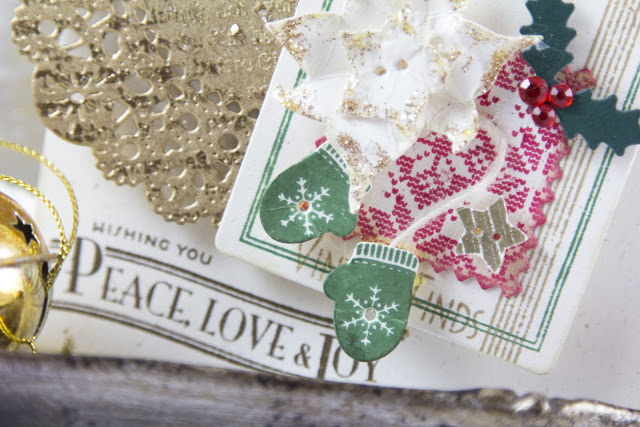
The pinked square was cut using the same die collection and then stamped using Waltzingmouse’s Nordic Winter stamp set using Pure Poppy ink then impressed with the Linen and Canvas impression plate to give it an authentic look. I also edged it with a mix of Pure Poppy and VintageTouch Tea Dye Duo inks to add give a softer feel before adhering it to the button card.
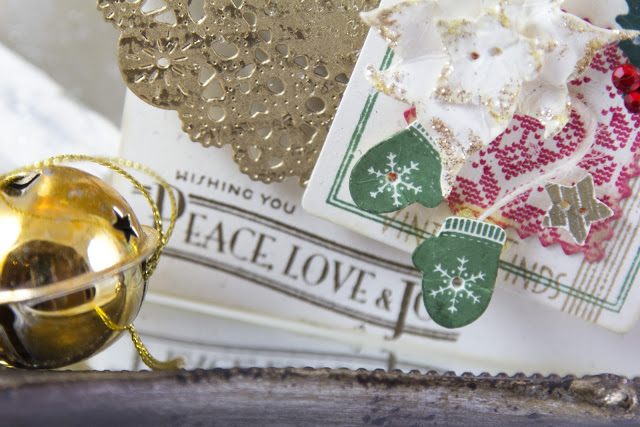
Next came the buttons – these are all handmade! The mittens are from the Shape Up Snowman Accessories stamp set, stamped in SU! Garden Green ink, trimmed out and holes pierces in the centres of the snowflakes, before attaching twine to them. The star is from the Love Lives Here: Holiday stamp set, stamped with Versamark and embossed with gold embossing powder before trimming out and piercing holes. The holly is die cut from Pinefeather cardstock using the Holly Jolly dies, adding red rhinestones for the berries. Finally the poinsettia is die cut from Rustic White cardstock using the Christmas Poinsettia die collection, edged with Martha Stewart Smoky Quartz glitter, holes pierced and assembled. All are adhered to the button card using Pinflair Glue Gel. I added the twine treatments to finish it off, applying Mod Podge to the Christmas Twine to hold its shape. It defies gravity now!
The doily comes next! I used the Parisian Doily die to die cut it from Fine Linen cardstock, embossed the lettering from Background Basics: Christmas using Versamark and Wow! Clear Dull Matte Embossing Powder, before spraying it with gold spray paint, and then adding some spray adhesive to add some glass glitter and Melissa Frances Gold Glass Glitter and spraying it with Perfect Pearls Heirloon Gold spray. Phew!
I adhered the doily and button card to the Rustic White card base using Pinflair, then added the sentiment from the Happiest of Holidays stamp set, selectively inking it with SU! Soft Suede ink before stamping.
I’ll see you back here for Day 10 – thanks so much for stopping by – I’d really appreciate it if you could leave some love in the form of a comment too!


Now this one is one of my favorites so far! It's so elegant — I think it's the flash of gold doily that's making me swoon! Whoever gets this one in the mail will love it, I'm sure!
This is so pretty Taheerah! I am LOVING the doily!