Hi everyone! How are you all today?
I’m back today with my first post of the day to share a new series with you!
Due to the popularity of my 25 Days of Christmas Cards posts (well, they were popular with me anyway!), I thought I’d bring you a series of cards that are perfect for Valentine’s Day! And, just to give this series a little twist, I am challenging myself and keeping them all as cards that are suitable for guys! Every year I see a smorgasbord of beautiful Valentine’s cards, and they are all very well done and very inspiring – but they all tend to be very girly. So I’m bucking the trend and bringing you a fortnight of cards dedicated to the men in our lives!
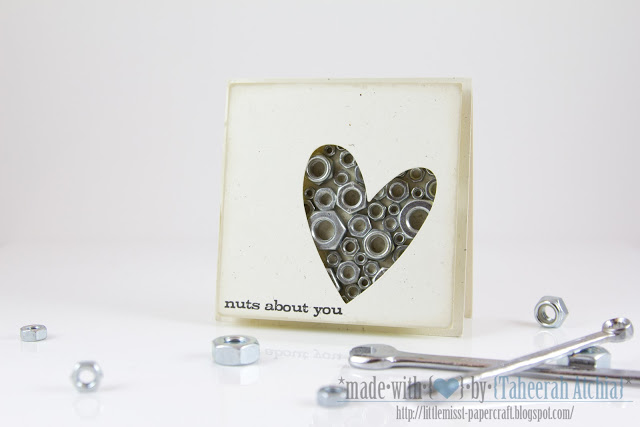
So in keeping with this, I bring you Day 1’s offering:
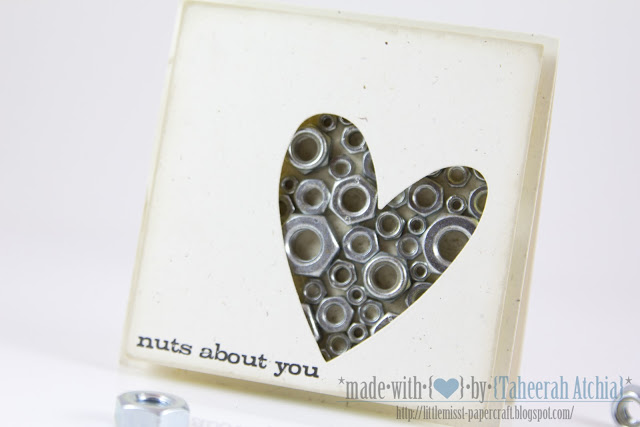
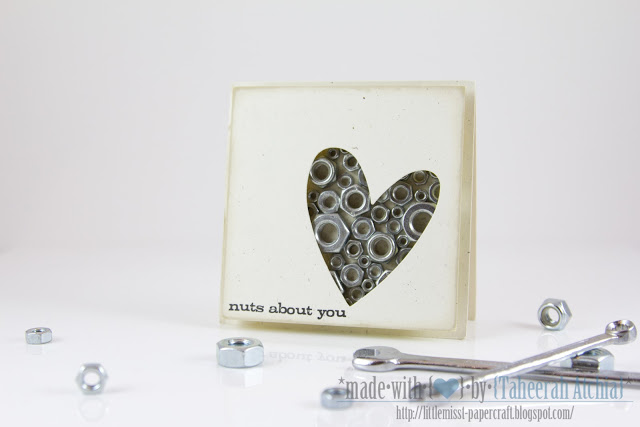
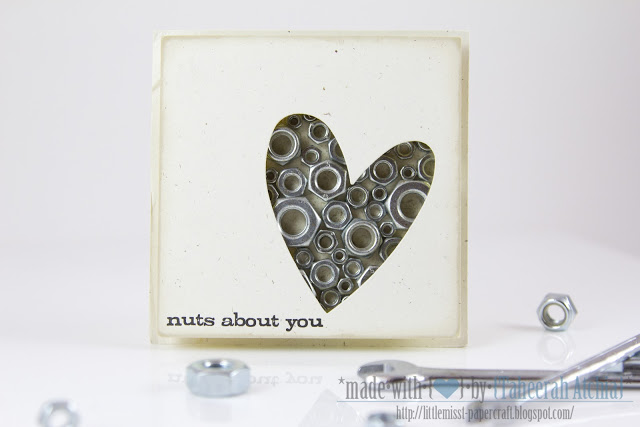
How awesome is that?!! I am totally in love this card so so much!! It has a very special place in my heart as it was also my second ever published card, featuring in 365 Cards a few years back:
So, how about we get onto the details of this card, huh?
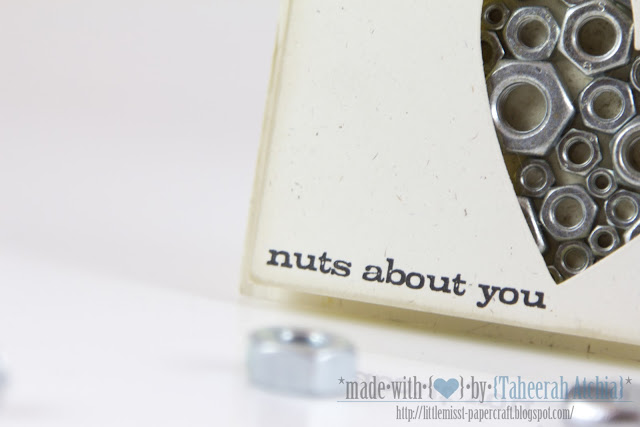
I started with a Rustic Cream cardstock panel and die cut the heart from it using the Provocraft Concentric Hearts die. I inked the edges with VintageTouch Tea Dye Duo for emphasis. I stamped the sentiment from the Hero Arts Tree, Birds & Messages set using Versafine Onyx Black ink. You know when you have an amazing idea, then you search for the perfect stamp set that can make it possible? Yeah that.
Next I took a Rustic White card base and placed the panel over the top, tracing the outline of the heart lightly with a pencil. I then removed the panel and placed strips of Scor-Tape over the base where the heart would be.
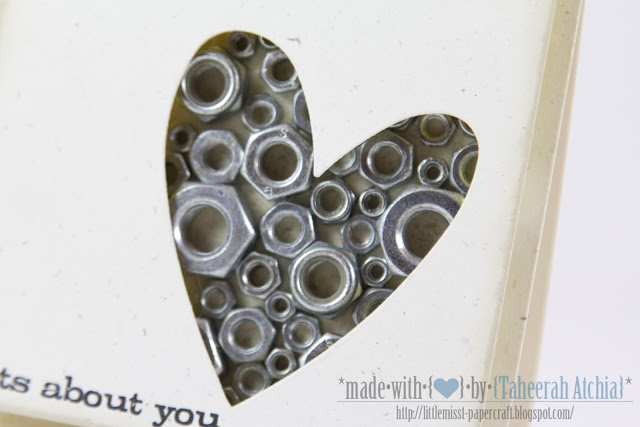
Then comes the fun part! I took an assortment of nuts and arranged them in a pattern on the base, pressing them into the Scor-Tape to adhere. This card needs a strong adhesive to keep those nuts from falling prey to gravity so Scor-Tape is the perfect solution! One tip: it helps to plan your design of these elements ahead of time before sticking them down. One technique I tend to rely on is playing with the arrangement and then taking a photo of the result I’m happy with before applying it to the final design. Works a treat!
After all the nuts were in place I coated them with a coat of Matte Medium. This helped seal the nuts in place as well as removing the problem of the stickiness where there was any unused Scor-Tape. I then masked the rest of the base and sprayed the nuts with Heirloom Gold Perfect Pearls mist to vintage them up a bit.
Finally I adhered the top panel with a *ton* of Pinflair Glue Gel. I needed a lot of height, adhesive strength and a stable, solid finish, so Pinflair it is! This is why I always use this glue!!
Well, that’s my first post of the day done! That’s right – there’s more than one post today! Tune in later to see my latest card for the Clean & Simple Card Making 2 class!
Thanks so much for stopping by – I would love to hear your feedback on this card, and this series and what types of masculine cards you would like to see or have help with creating. Speak to you soon friends!!



Oh, for heaven's sake, this is incredibly clever and just perfect for a manly Valentine!!
This is so cool! I love it!
Hello girlie, this is another card of yours made me think why wouldn't I thought of it 🙂 I think you are oozing with creativity!
Brilliant idea! It looks fantastic! What glue did you use?
This is fantastic! Great design! I have to ask…how much does it weigh? LOL! Awesome card!
I love it! So clever and it is definitely a great guy card!
Umm, yeah, no doubt this is a GUY Valentine's Day card!! Nothing girlie here. Fantastic idea, Taheerah, but on top of that I so love the way you combined the different sizes. It's just so INTERESTING to look at!
What a fantiastic concept, Taheerah- and it looks amazing too!! 🙂
hugs, Rachel x
wow!!amazing idea!!