Hi everyone! Happy Sunday!
I’m a huge fan of neon.
Maybe not such a fan of the day-glo style leisurewear from the 80s. But the more grown-up, better thought out, accent version that’s been quietly pervading the trends for a while. In fact, it wasn’t all that long ago when neon was a more prevalent trend in papercrafting. It might not be as hot anymore – but I don’t really care. It’s still awesome.
What I love about neon is that it’s unashamedly loud and proud. We could learn a lot from neon.
Before neon was adorning tracksuits and accenting design pieces, it had a more retro appeal in the form of neon signs. There’s just something about them that fills me with a warm, fuzzy glow…
I’m here all week.
Anyway, when I saw the Lucky Stamp Set & Dies Bundle from Concord & 9th, with the thick and thin ‘lucky’ word, there was only one thing on my mind…
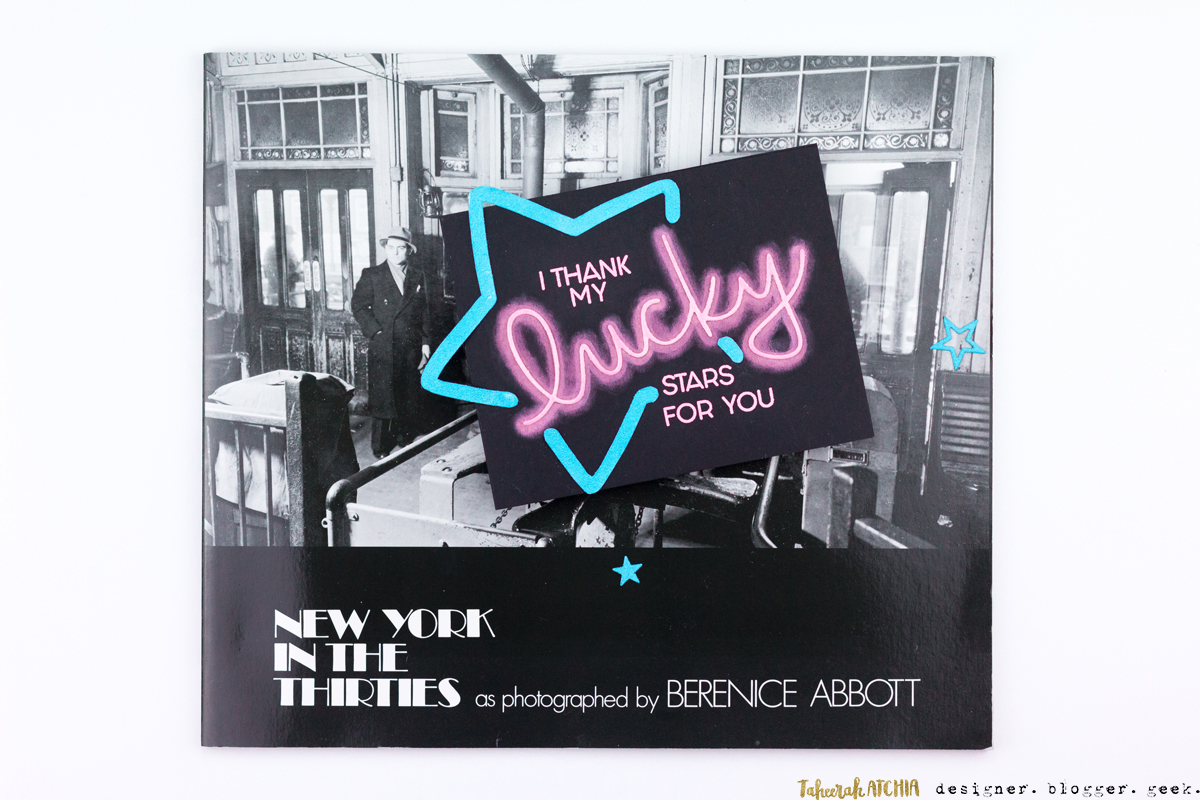
Neon sign! Yeah baby! I’m so thrilled at how this turned out!
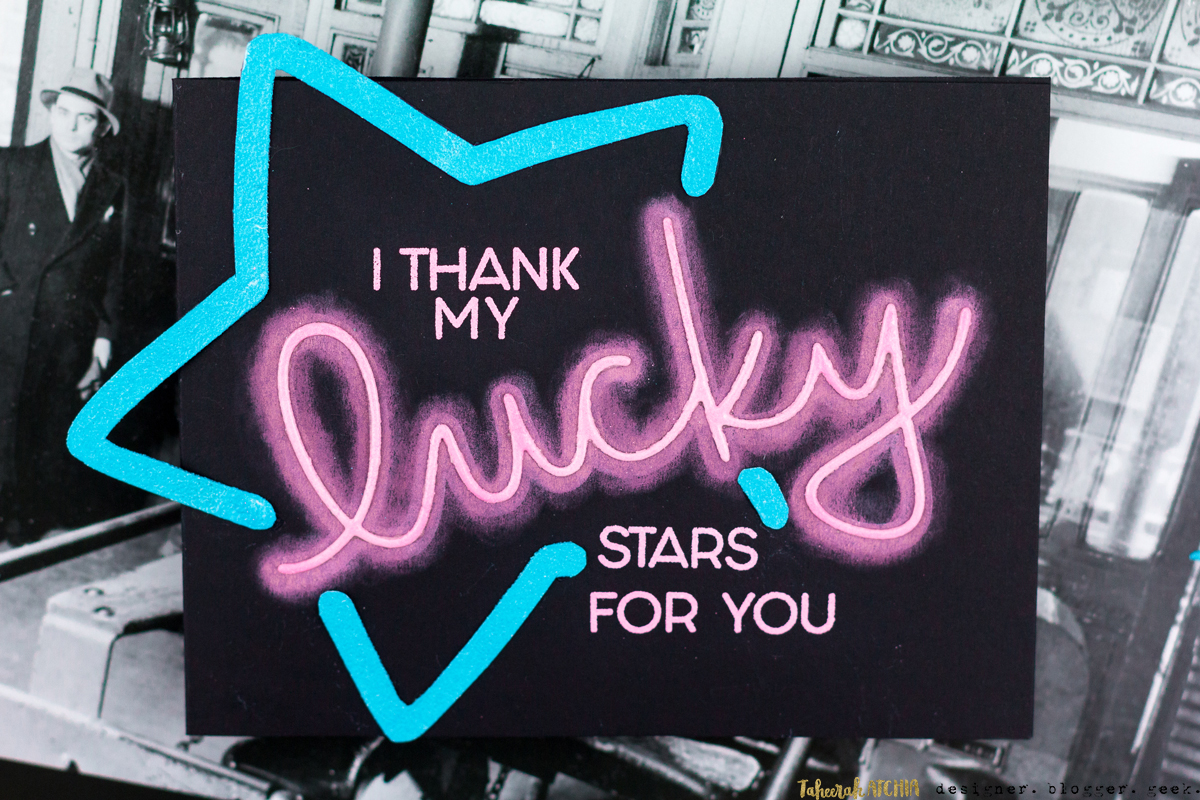
To create the neon sign I die cut the ‘lucky’ word from black cardstock, then pressed it into my Versamark inkpad and heat embossed it with a neon WOW! embossing powder. I repeated the heat embossing a second time to build up a really good coverage and a bit of height on the word.
Onto my black card base I stamped the ‘lucky’ word with white pigment ink a few times, building up about three layers to give a nice opaque white. I then overstamped it with a middle pink pigment ink. The mid tone on top of the white made a pink which was just about perfectly matched with the heat embossed ‘sign’. To make it look more realistic, I took a cotton bud (or Q-Tip, as they seem to be known), and rubbed it all over the word, and its edges, to create a fuzzy look. It came out exactly the way I envisaged!
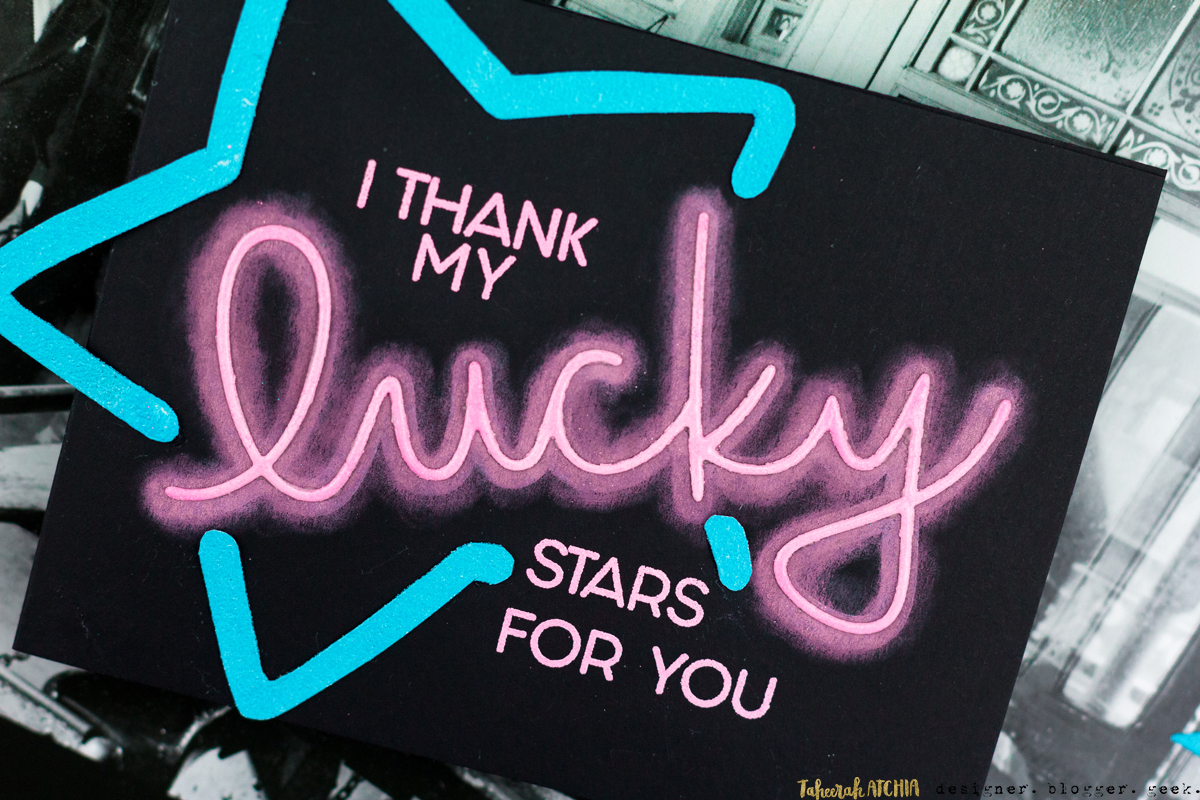
For the rest of my card, I heat embossed the supporting sentiments directly onto my base, then wanted to add a neon star that would give the overall look of a retro sign. I traced round a star shaped die (the inner and outer edges) then trimmed it out with scissors. I heat embossed it twice with WOW! neon blue embossing powder, then worked out where I’d want it to go on the card and cut it apart where it would intersect the sentiments. I adhered the remaining pieces in place and was all done!
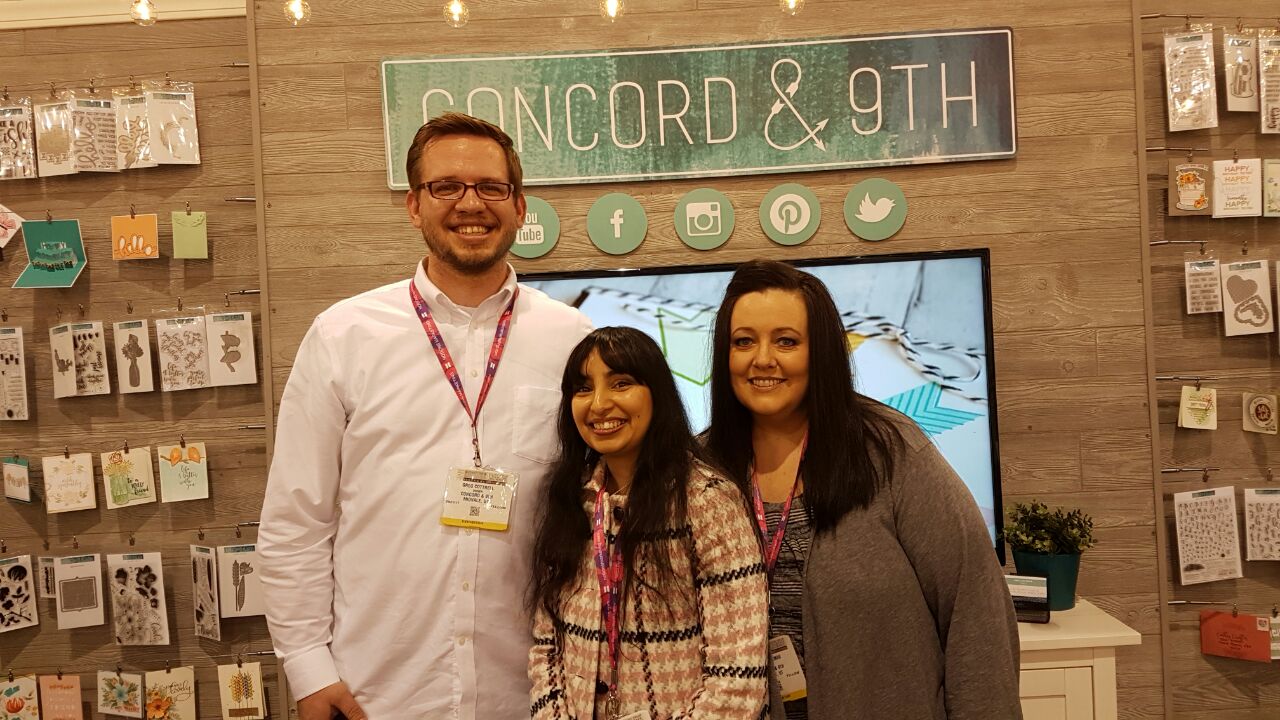
This post is doing double-duty today, as it’s the first part of my Guest Design series with Concord & 9th! I was over. the. moon. when Angie and Greg invited me to Guest Design with them this month! Concord & 9th are one of the rising stars in the crafting industry – they’re still quite young but boy have they made a splash with their cleverly-designed stamps and dies! I still remember the delight I felt when they agreed to sponsor Advent Calendar Extravaganza last year – and we’ve sorta been each other’s mutual fans ever since! Angie and Greg are just about the nicest people you could hope to meet, and they were one of the highlights of CHA for me, with their awesome booth, awesome products, and awesome enthusiasm.
Here’s a shot I snapped of me with the gang:
And one with just Greg – we were cracking up as we took this one!
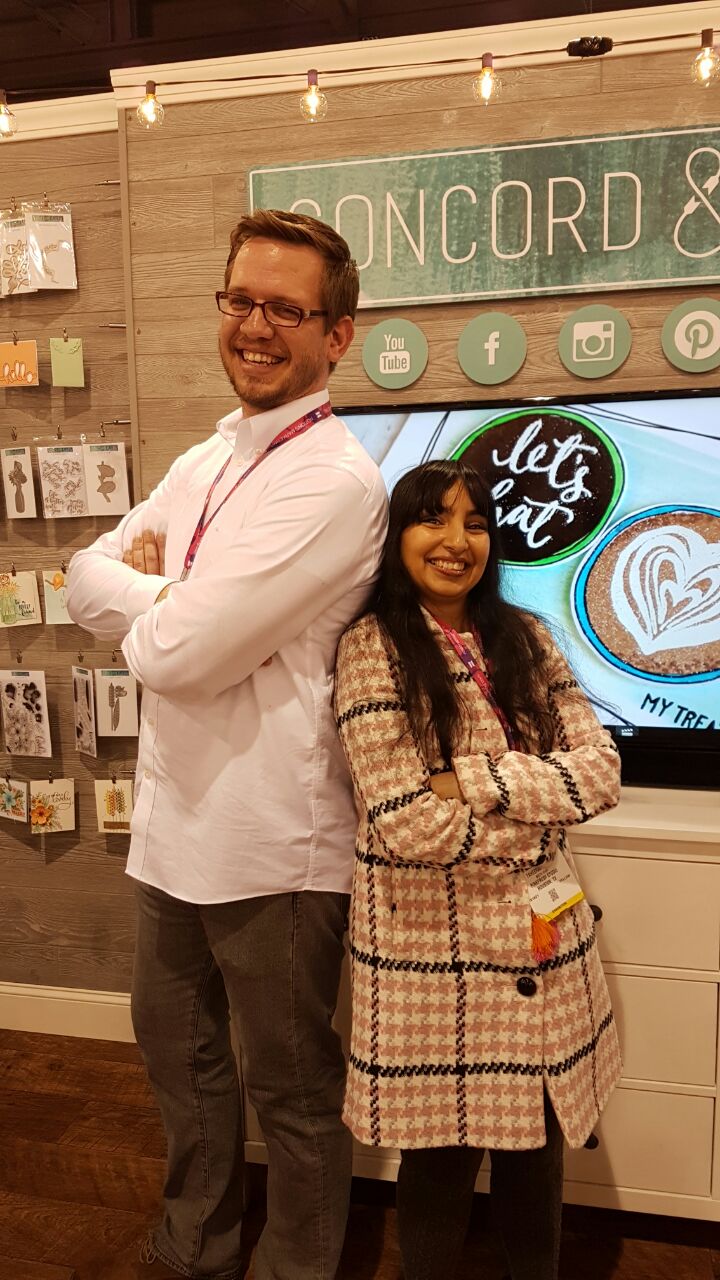
We had so much fun!
Please do head over to the Concord & 9th blog and leave some love on the equivalent post there – let them know I’m doing a good job if you think I am, lol!
In the meantime I’m off to dig out my neon nail polish.
Thanks for stopping by!
Supplies
Wow, I love it!! This card is “totally awesome!!” It definitely looks like a neon sign!! So very creative!! Good on you for having a vision and carrying it out!gm
You are ammmmmmmazing! Great technique and card design! And I’m sad we never got our photo together at CHA— or did we? I don’t think I had one on my phone! Next time <3 HUGS HUGS HUGS!
This is amazing!! Love it!
Such a clever use of the Lucky stamp and die – it looks amazing!
Amazing card Taheerah! Are you just really petite or is greg really tall? LOL!
Wow! This is fabulous! I’m having trouble figuring out how you did this, I guess I’m a visual person. Can you do a video, I would love to recreate this look. Thanks so much for sharing.
Hey Ginger, it’s in my To Do list! 🙂 I was going to create one to coincide with this post but ran out of time! 🙂
Totally smiling ear-to-ear, my first thought with Lucky was “neon” but I didn’t figure out how to get that look. I’m so glad I abandoned that train of thought because this is pretty darn amazing!!! Just how I envisioned as well, only without the “vision” ?
Also smiling thinking how you’ve been with me for 4 of the last 5
companies I’ve designed for!!! What does that make us? Card-making twins? I’m sure there is a better word, but we definitely have a connection! Xoxo, Kelly
Whoa! Did this one turn out perfectly awesome! Great concept and flawless execution!
This is fabulous Taheerah! Love it!
Nailed it!!! This is absolutely AMAZING, Taheerah!!!! Awesome work and incredible photos!
Great card! Love the neon take on the stamp. Well done?
I don’t own any neon powders, but I love your card!
WOW… This is so awesome. Amazing technique.
So very clever! Thanks for sharing how you did this. It looks amazing!
Ok, now that is AWESOME!!! Or maybe I should say,” like, totally rad!”?!?!
Amazing card and LOVE the pics:)